
To change Mazda RX-8 spark plugs DIY, safely jack up the front-left (passenger side in NZ) of the vehicle, remove the wheel, and peel back the inner rubber splash guard to access the engine side housing. You need a 21mm spark plug socket, a wobble extension, and a ratchet. Replace the two Leading (lower) and two Trailing (upper) plugs individually to preserve firing order, torque them to 13-18 Nm, and perform an NVRAM reset via the brake pedal method.
Owning a Mazda RX-8 in New Zealand is a labor of love. The Renesis rotary engine is a marvel of engineering, offering 9,000 RPM thrills that piston engines simply cannot match. However, that performance relies heavily on a robust ignition system. Unlike standard vehicles where spark plugs might last 100,000 km, the RX-8 requires fresh ignition components significantly more often to maintain compression, prevent flooding, and protect the catalytic converter.
This comprehensive guide focuses on the specific nuances of the change rx8 spark plugs diy process. We will cover everything from the unique tools required to access the engine through the wheel well, to the critical NVRAM reset procedure that ensures your ECU adapts to the new hardware.
Why Ignition Health is Critical for Rotaries
In a piston engine, a misfire is an annoyance. In a rotary engine, ignition failure can be catastrophic. The Mazda RX-8’s Renesis engine injects oil into the combustion chamber to lubricate the apex seals. If a spark plug fails to ignite the mixture, unburnt fuel and oil wash away the compression-generating oil film and are dumped into the exhaust manifold.
This leads to two primary disasters common in the NZ market:
- Flooding: The engine loses compression due to fuel wash, making it impossible to start.
- Catalytic Converter Meltdown: Unburnt fuel ignites inside the cat, superheating the ceramic honeycomb until it melts and clogs the exhaust. A clogged cat creates backpressure that can destroy the engine’s side seals.

Tools and Parts Required
Before you begin to change rx8 spark plugs diy, ensure you have the specific parts. The RX-8 does not use standard plugs; it utilizes specialized NGK Laser Iridium plugs designed specifically for the rotary combustion chamber.
The Spark Plugs
You will need four plugs in total. Note that the heat ranges differ between the 2003-2008 (S1) and 2009-2012 (S2) models, but the physical form factor remains similar. For most NZ-market Series 1 RX-8s, you need:
- 2x Leading Plugs (Lower): NGK RE7C-L
- 2x Trailing Plugs (Upper): NGK RE9B-T
Note: If you drive aggressively or have a turbocharged setup, some owners opt for RE9B-T in all four slots, but for standard street driving, stick to the OEM recommendation.
The Toolkit
Access is tight. You cannot reach the plugs from the top of the engine bay easily. You will be working through the front passenger wheel well (in New Zealand/RHD models, this is the front left; for LHD, it is the driver’s side—always refer to the front-left wheel regardless of steering wheel position).
- Floor Jack and Jack Stands: Never work on a car supported only by a hydraulic jack.
- Wheel Brace/Impact Wrench: For removing the road wheel.
- 21mm (13/16″) Spark Plug Socket: Preferably with a magnetic hold or rubber insert.
- Socket Extensions: You need a variety. A 3-inch, 6-inch, and specifically a wobble extension or universal joint are vital for navigating around the subframe.
- Ratchet: 3/8″ drive is usually best for the clearance available.
- Dielectric Grease: For the spark plug boot seal.
- Anti-Seize Compound: (Optional but recommended in small amounts for NZ’s humid climate to prevent seizing in the housing).
- Flathead Screwdriver: For removing the splash guard clips.
Step-by-Step Replacement Guide
Follow this procedure strictly to ensure safety and mechanical integrity. The engine should be cool to the touch before beginning to prevent burns and thread damage.
Accessing the Engine Through the Wheel Well
The defining characteristic of an RX-8 spark plug change is the entry point. The engine sits low and far back in the chassis (front-midship), making top-down access nearly impossible without removing the intake manifold.
- Lift the Vehicle: Engage the handbrake. Loosen the lug nuts on the front-left wheel. Jack up the car using the reinforced sill point or the front crossmember. Place a jack stand under the chassis rail for safety.
- Remove the Wheel: Take the wheel off completely to expose the wheel arch liner.
- Remove the Splash Guard: Inside the wheel well, towards the rear, you will see a small rubber flap or splash guard held on by plastic pop-rivets. Use your flathead screwdriver to pop the center pins and remove these clips. Peel the rubber guard back or remove it entirely.

Once the flap is moved, you will see the side of the engine housing. You will see four spark plug wires (HT leads) connected to four plugs installed horizontally into the engine housing.
Distinguishing Leading vs. Trailing Plugs
This is the most critical step. Do not mix these up.
- Leading (L): These are the LOWER two plugs. They ignite the fuel mixture first. The plug code usually ends in “L” (e.g., RE7C-L). Physically, the electrode is recessed.
- Trailing (T): These are the UPPER two plugs. They fire second to ensure complete combustion. The plug code ends in “T” (e.g., RE9B-T). Physically, the electrode protrudes slightly.
Pro Tip: Only remove and replace one plug at a time. This prevents you from crossing the ignition cables. If you cross the L and T cables, the car will run poorly, backfire, or damage the engine.
Torque Specs and Dielectric Grease
Now that you have access, proceed with the swap.
- Remove the Wire: Grasp the spark plug boot (not the wire itself) and twist/pull firmly to disconnect it. Inspect the contact inside the boot for corrosion (white powder).
- Unscrew the Old Plug: Insert your 21mm socket with the wobble extension. It can be fiddly to get the angle right past the suspension components. Turn counter-clockwise to loosen.
- Prep the New Plug:
- Apply a pea-sized amount of Dielectric Grease to the ceramic insulator (the white part) of the new plug. This prevents voltage leaks and makes the boot easier to remove next time.
- Apply a tiny dab of anti-seize to the threads. Note: NGK states their coating doesn’t require this, but many rotary mechanics in NZ recommend a tiny amount due to the dissimilar metals (steel plug, aluminum housing) and heat cycles.
- Install the New Plug: Thread the plug in by hand first! This is crucial. The engine housing is soft aluminum; cross-threading it is an engine-out repair. Hand-tighten until it seats.
- Torque it Down: Using your torque wrench, tighten the spark plug to 13-18 Nm (10-14 ft-lbf). If you do not have a torque wrench, hand-tighten until seated, then turn it roughly another 1/2 to 2/3 turn to crush the washer. Do not overtighten.
- Reconnect the Wire: Push the ignition lead boot onto the plug until you feel a distinct “click.”

Repeat this process for all four plugs: Front Lower, Rear Lower (Leading), then Front Upper, Rear Upper (Trailing).
Resetting the NVRAM (The 20-Brake Stomp)
After changing ignition components, the ECU (Engine Control Unit) retains the fuel trim data and eccentric shaft plate profile from the old, worn plugs. To get the best performance and idle smoothness immediately, you must reset the NVRAM (Non-Volatile Random Access Memory).
The Procedure:
- Put the car in Neutral (or Park for Automatics).
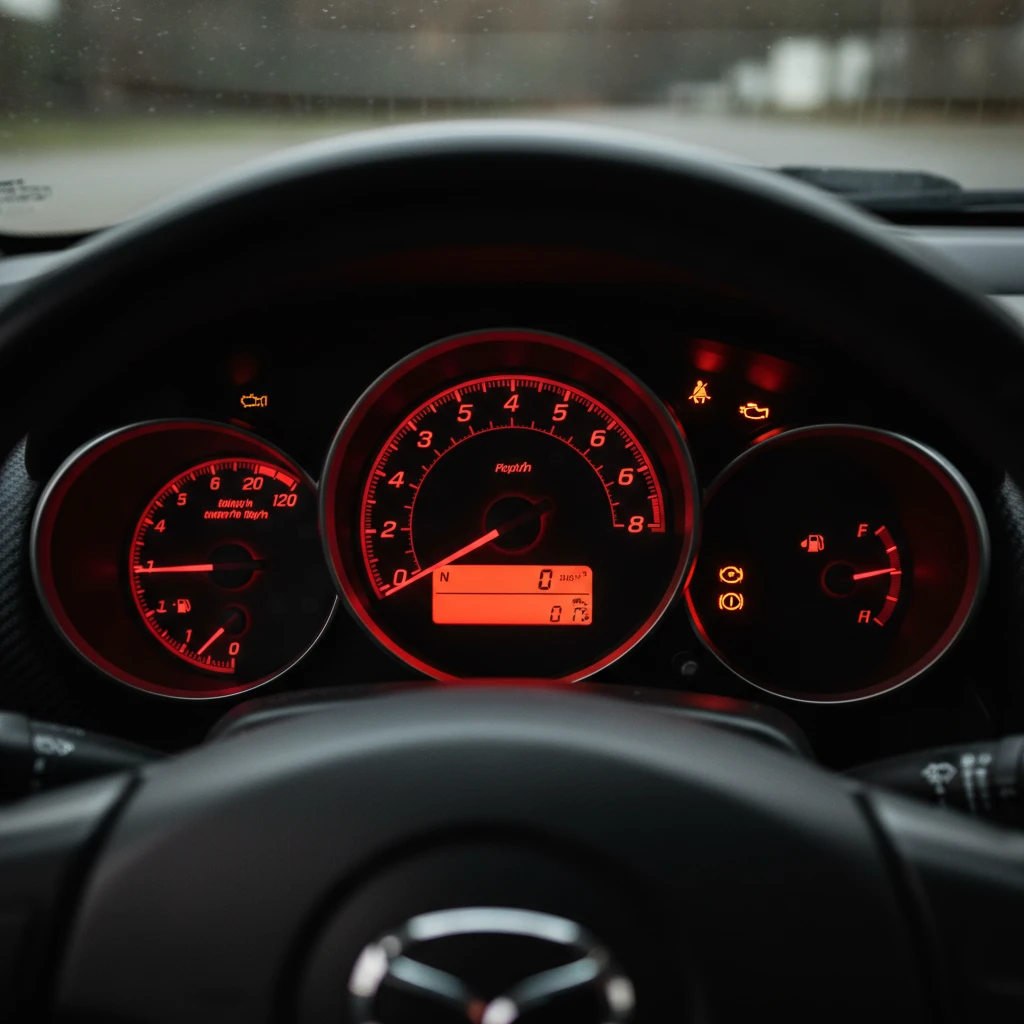
- Turn the ignition key to the “ON” position (do not start the engine). The dashboard lights should all illuminate.
- Within 8 seconds, stomp on the brake pedal rapidly and forcefully roughly 20 times.
- Watch the oil pressure gauge (on S1 models) or look for the oil pressure light. It will sweep to the right and back, or the light will flash, confirming the reset is complete.
- Turn the key to “OFF,” wait a few seconds, and then start the car.
Troubleshooting Common Issues
Car Won’t Start After Change
If the car cranks but won’t fire, check the following:
- Crossed Wires: Did you plug a Leading wire into a Trailing plug? Check the length of the wires (Leading wires are usually shorter) and the labels on the coils.
- Loose Connections: Ensure every boot clicked onto the plug terminal.
- Flooding: If you started the car briefly and shut it off, or cranked it too long without starting, it may be flooded. Perform the de-flood procedure (hold gas pedal to floor while cranking for 10 seconds to cut fuel, then try starting normally).
Rough Idle
A rough idle immediately after a change usually points to a vacuum leak (did you knock a hose loose?) or a damaged ignition coil. Often, when spark plugs are worn, the ignition coils work overtime to bridge the gap. When you disturb them to change plugs, weak coils may finally fail. It is highly recommended to change coils, leads, and plugs simultaneously on an RX-8.
How often should I change them?
In the New Zealand market, where humidity varies and driving often involves short trips, the recommended interval is every 20,000 to 30,000 km. While the manual may state longer intervals, preventative maintenance is cheaper than a rebuild.
People Also Ask
What is the firing order for Mazda RX-8 spark plugs?
The rotary engine doesn’t have a traditional “firing order” like a V8. However, the coils must be connected correctly. Looking at the engine from the side (wheel well), the bottom two are Leading (Front and Rear) and the top two are Trailing (Front and Rear). The coils on the top of the engine are arranged L-T-L-T or T-L-L-T depending on the year, so tracing the wires one by one is safer than memorizing an order.
Can I use standard spark plugs in an RX-8?
No. You must use the specific NGK Laser Iridium plugs (RE7C-L and RE9B-T). Standard plugs will not fit the housing correctly, may hit the apex seals causing instant engine destruction, and cannot withstand the heat of the rotary combustion cycle.
How much does it cost to change RX-8 spark plugs in NZ?
If you DIY, the cost is purely for parts, typically between $150 and $250 NZD for a set of four NGK plugs. If you take it to a mechanic, expect to pay between $350 and $500 NZD due to the labor involved in accessing the plugs through the wheel well.
What are the symptoms of bad spark plugs in an RX-8?
Common symptoms include difficult cold starting, difficult hot starting, rough idle, hesitation under acceleration, backfiring, and a decrease in fuel economy. Severe cases can lead to the “flashing engine light” indicating misfires.
Should I change coils and leads with the spark plugs?
Yes, it is highly recommended. The OEM ignition coils on the RX-8 are known weak points. If your plugs are worn, your coils are likely degraded. Replacing all three components (the “ignition trio”) ensures maximum performance and reliability.
Do I need to gap RX-8 spark plugs?
No. The NGK iridium plugs for the RX-8 come pre-gapped. Attempting to gap them can damage the fine iridium electrode. Always check them visually out of the box to ensure they weren’t dropped/damaged during shipping, but do not use a gapping tool on them.